- 1 4lb braising roast (see note below)
- 4 tablespoons duck fat or olive oil
- 4 tablespoons dried onion flakes
- 1/4 cup brown sugar
- 1/4 cup ketchup
- 1 tablespoon freshly grated black pepper
- 1/4 to 1 1/2 cups dry red wine, depending on the size and type of your roast (see note below)
- 1 large onion, sliced
- 1/4 to 1 cup whiskey (optional)
Note: This recipe is for a 4lb braising roast. The amount of liquid you’ll need depends on the type of roast you are cooking. For Brisket, French Brisket, Chuck Pot Roast, Top of the Rib and Brisket Strip, use less liquid (the sauce will be more like a paste when you put it in the oven; the juices from the meat will accumulate during cooking). For Deckel, Kalakel, Pastrami Roast, use more liquid so that the roast is almost entirely submerged. The exact quantities aren’t critical — a mix of wine, water, whiskey or even chicken broth will be delicious. If you love onions, add another one; if you don’t have any, it’s okay to leave them out.
Allow about 60 minutes per pound. Make sure the meat is tightly covered while braising, and check on it about halfway through your estimated cooking time, adding more liquid if necessary. Meat is done when it is easy to poke with a finger or a fork — if it springs back, it’s still tough and needs to cook longer. We strongly recommend cooking your roast the day before you plan to serve it — it will taste better the next day, and it takes the stress out of timing the cooking precisely. Once the meat is tender, you can remove it from the oven or keep cooking another hour or so if you want to end up with shredded or “pulled” meat (this works very well with Brisket, Brisket Strip and Top of the Rib).
You will need a thick, oven-safe casserole (such as a Dutch oven) to make this recipe. Ideally, your roast will fit in the pan with about 1-3″ of space around it; if it is very large, cut it in half and stack the pieces on top of each other. If it is quite small, see if you have a smaller pan; if not, you may need to add more liquid since the wider surface area of the bottom of the pan will lead to quicker evaporation of the liquid. Most importantly, you want a tight fitting lid to prevent evaporation over the long cook. If you’re using foil, make sure to seal it back up very well after you open it up to check on the meat.
Brown the meat and onions (if using)
Bring roast to room temperature (remove from fridge aprox 30 minutes before you start cooking) and pat dry.
Heat oil or duck fat in a large, heavy-bottomed Dutch oven on the stovetop over medium-high heat. Brown the roast on all sides. Resist the urge to “check” on the browning — put the meat down and let it sit for 3-4 minutes until it releases easily without sticking, then move and sear another portion. Remove meat from the pan and set aside.
Return pan to the medium-low heat, adding more oil or duck fat if the pan is dry. Add onions and a pinch of salt, stirring occasionally, until onions are tender and browned, up to 10 minutes or so. Resist the urge to turn up the heat or your onions will burn.
Make the marinade, and prepare to roast
Combine all marinade ingredients together and rub over the meat. Adjust the amount of liquids added according to the kind of roast you are making (see note above).
Return roast, and any accumulated juices, to the pan with the onions. Cover tightly.
Roast until tender
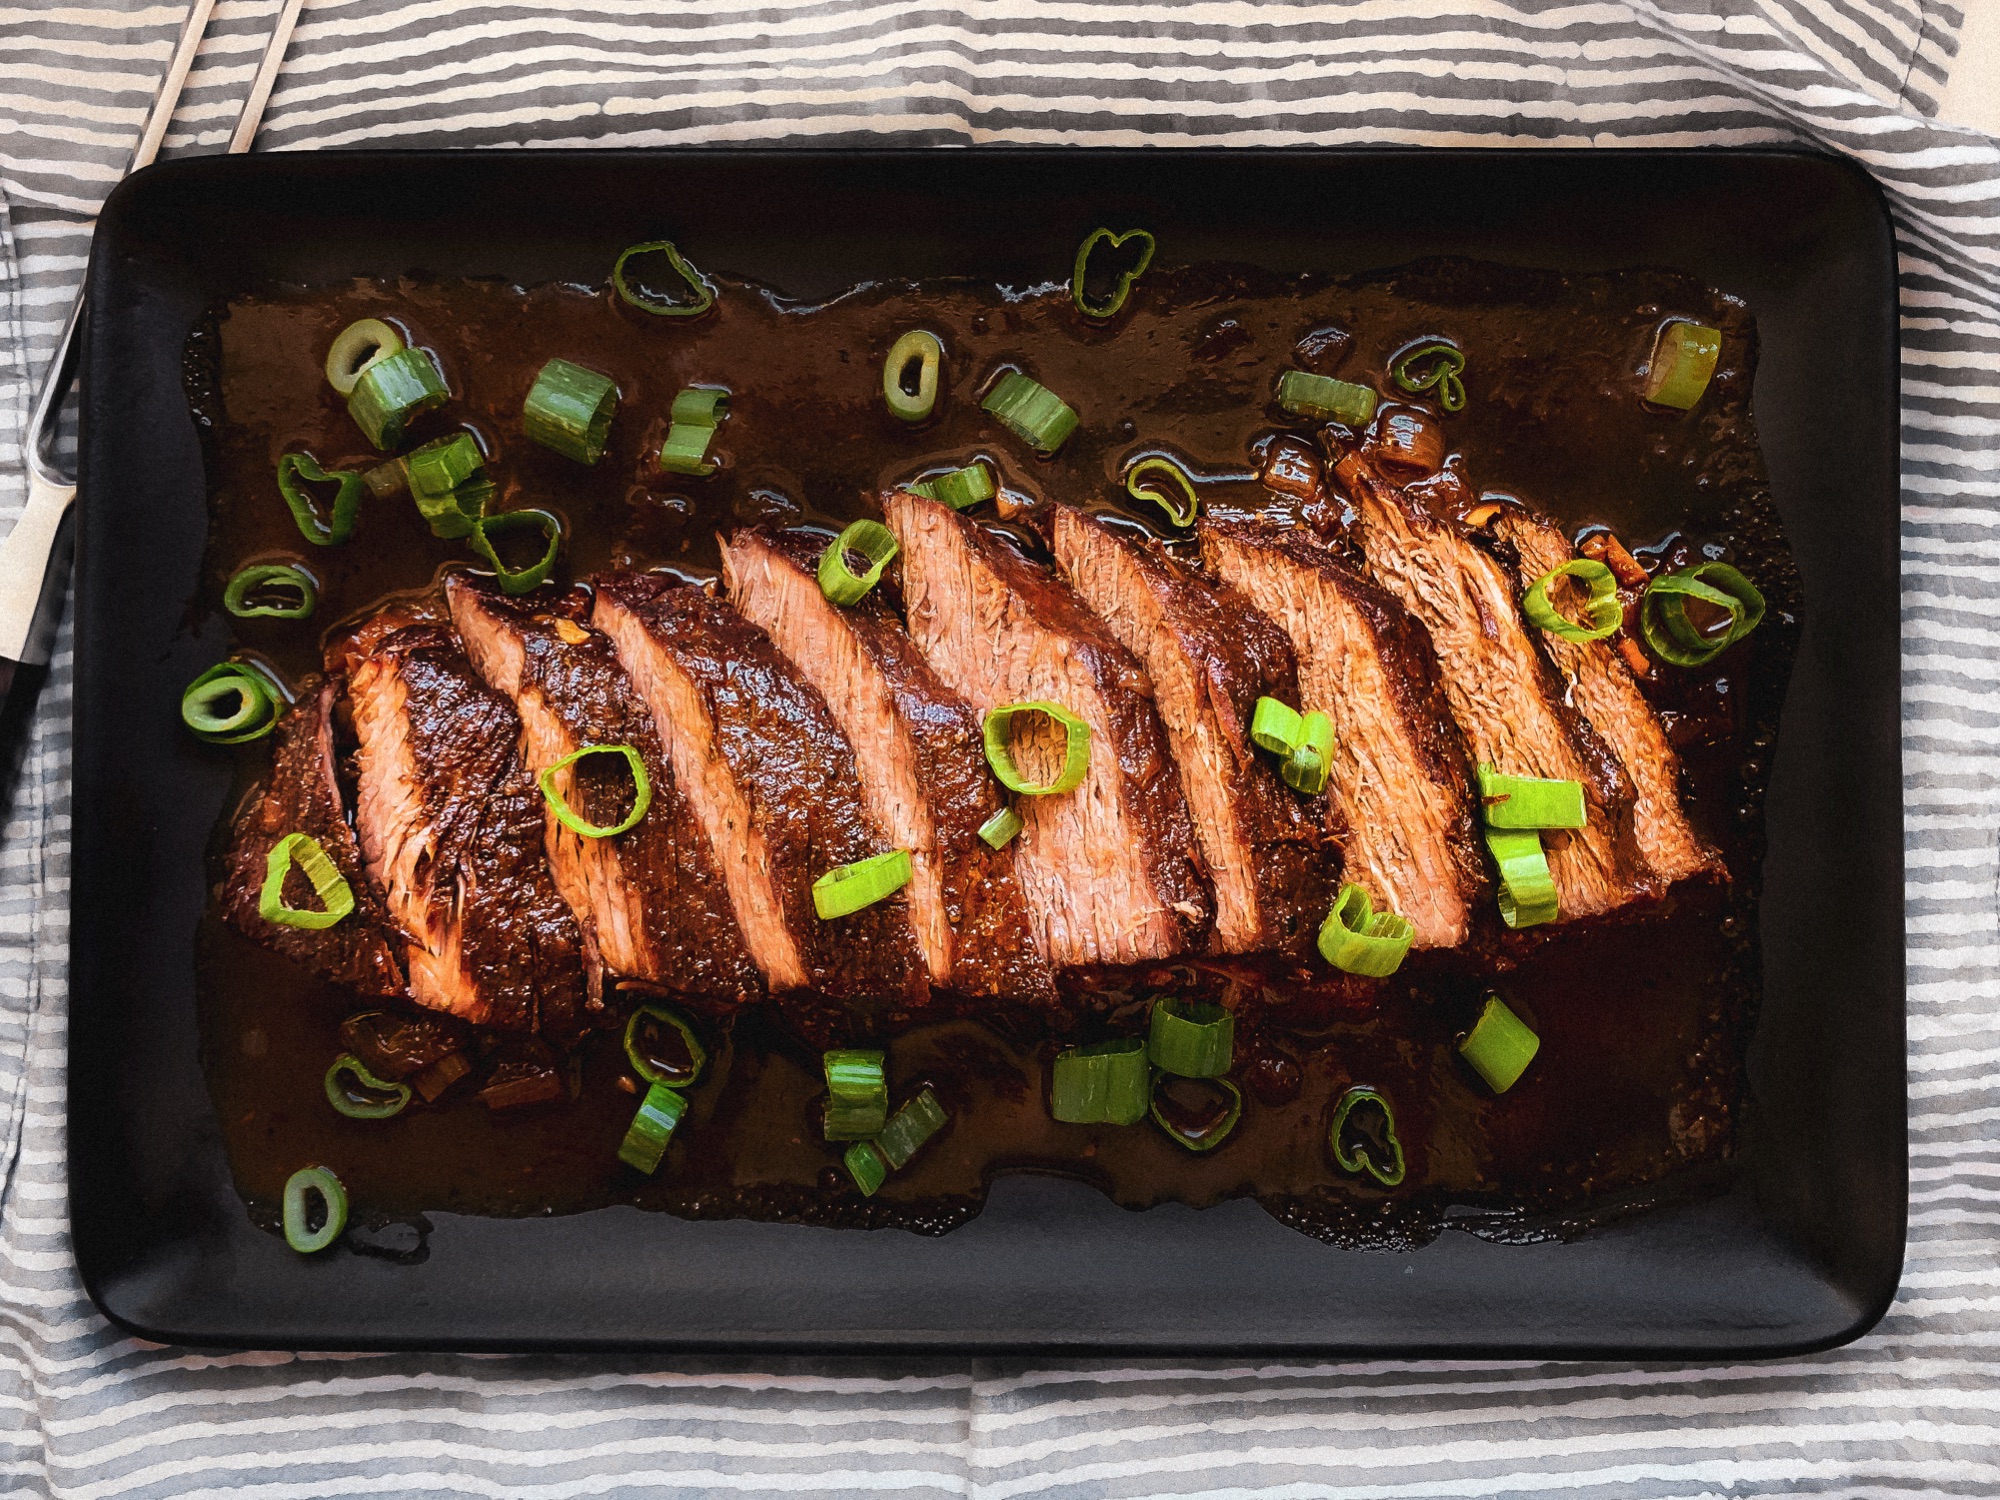
Cook at 350F for about 1.5 hours. Remove pot from oven, flip the roast, and check on the liquid, adding more if the pan is dry. Make sure to cover the pan tightly again and continue cooking until meat is tender, or until it can be pulled/shredded if desired. Expect to cook your roast for about 45min/lb at 350F or 60min/lb at 250F, but the exact timing will vary depending on your pan, your oven and the will of heaven. We recommend you calculate your approximate cooking time and check it half way through, flipping the roast. Then continue to cook until meat is tender, or can be pulled/shredded, checking every 30-60 minutes. Make sure that the pot is tightly covered after you check on the roast, and add more liquid if too much has evaporated. Kalakel, Deckel and Pastrami Roast should be almost completely submerged; other roasts will end up being submerged about a third to a half of the way up the side of the roast as the juices accumulate during cooking. The exact amount of liquid will vary according to the size of your roast and the size of your pot.
Make ahead
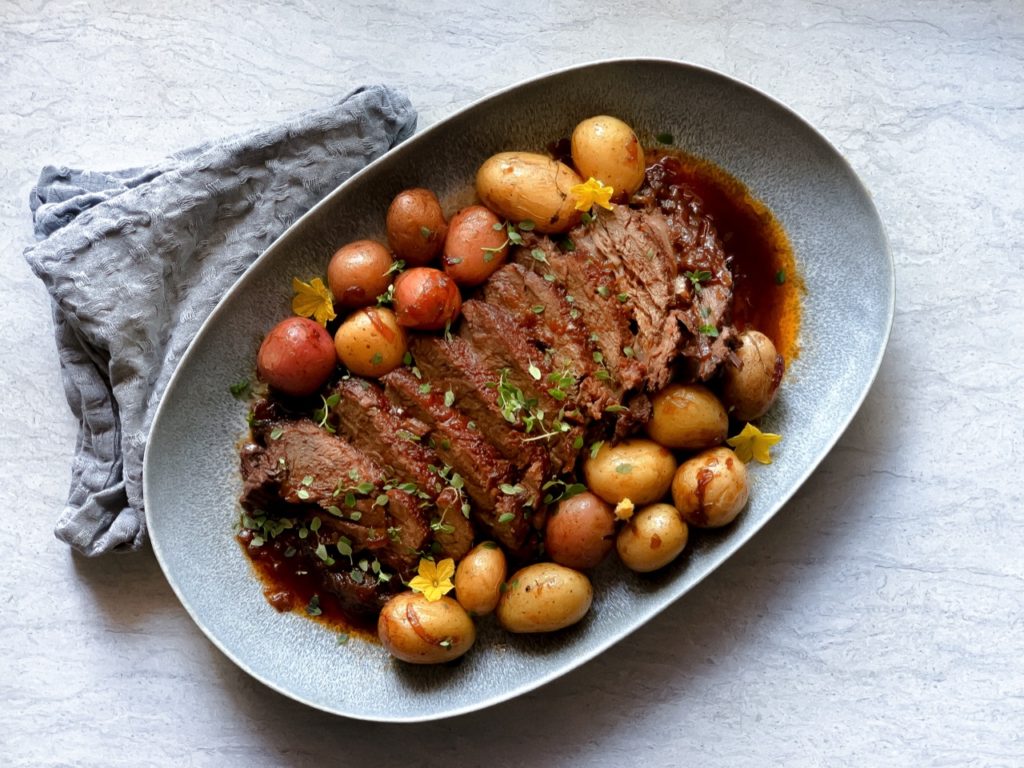
We strongly encourage you to make your roast a day ahead (if more than that, put it in the freezer until the day before you plan to serve it). After taking it out of the oven, let the whole thing cool completely and refrigerate (you may want to take the roast out of the liquid and refrigerate it separately). The next day, scoop off as much of the solidified fat as you can, then reheat the meat in the braising liquid. It is much easier to slice braising roasts when they are cold, but take care to reheat them gently in a tightly covered pan so they don’t dry out. If you are pulling the meat, reheat the roast whole, then shred when warm, just before serving.
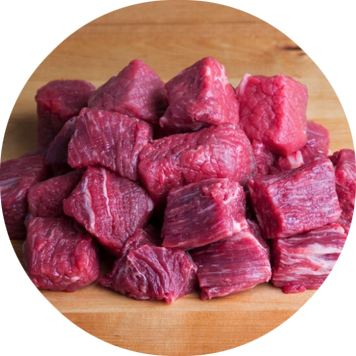
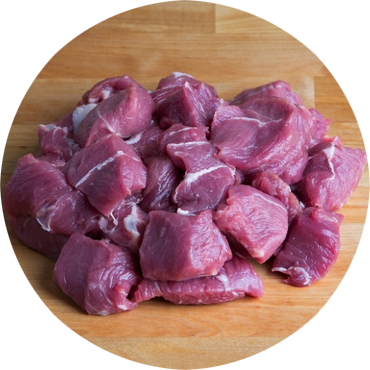
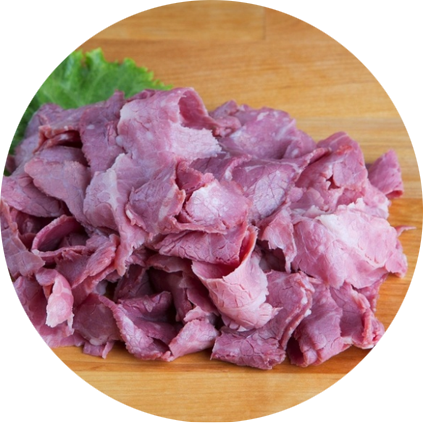
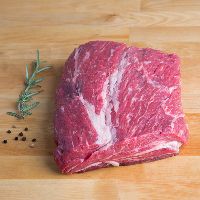
You can make this recipe with any beef or veal braising roast. Here are a couple of cuts we love with this recipe: